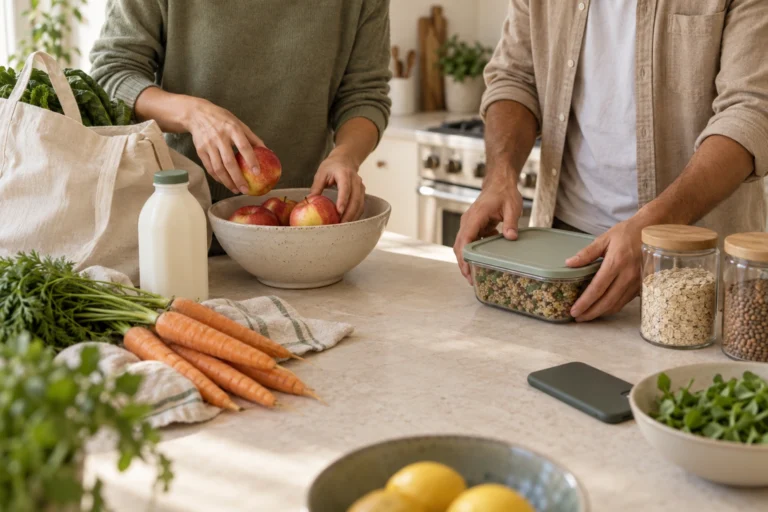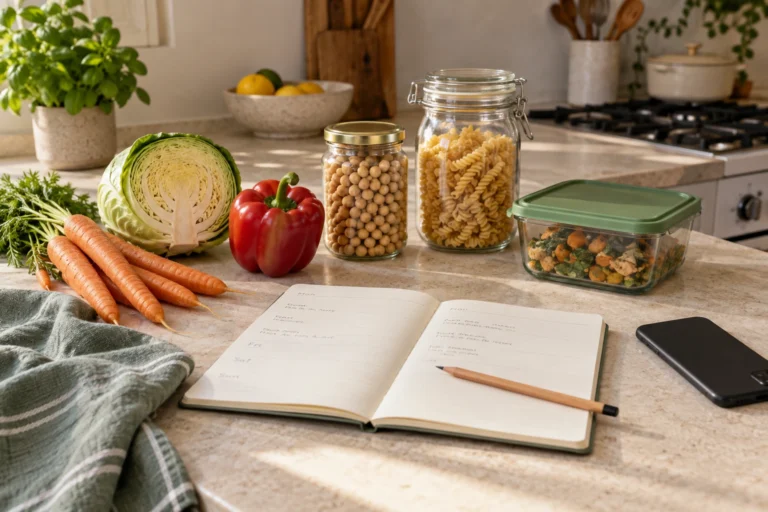
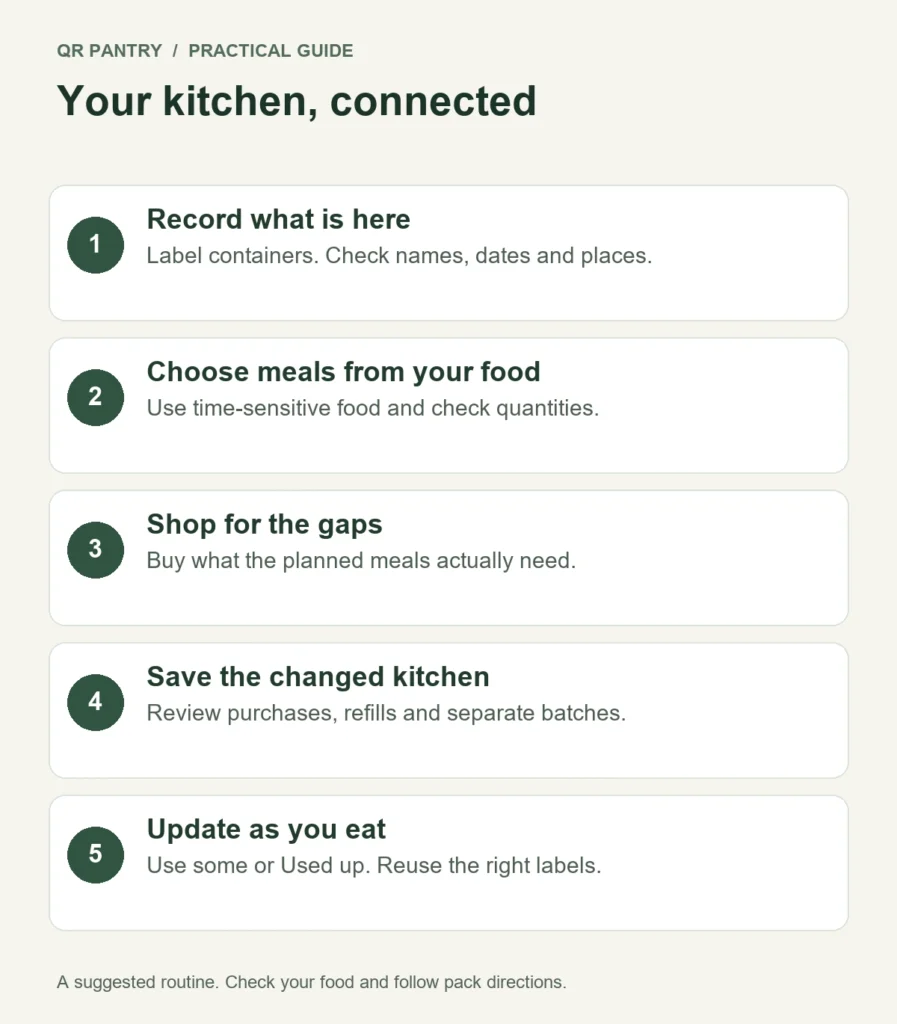
The best way to use QR Pantry is to connect the decisions you already make: what came home, where it went, what needs eating, what’s for dinner and what to buy next. Your labels give individual containers a memory. Your food list gives you the wider view. Recipes, meal planning and shopping turn that information into something useful.
You don’t have to enter every spice jar before you can start. Begin with the food you tend to forget, then build the routine around one real grocery shop and a few meals you actually cook. Here’s how the whole system fits together.
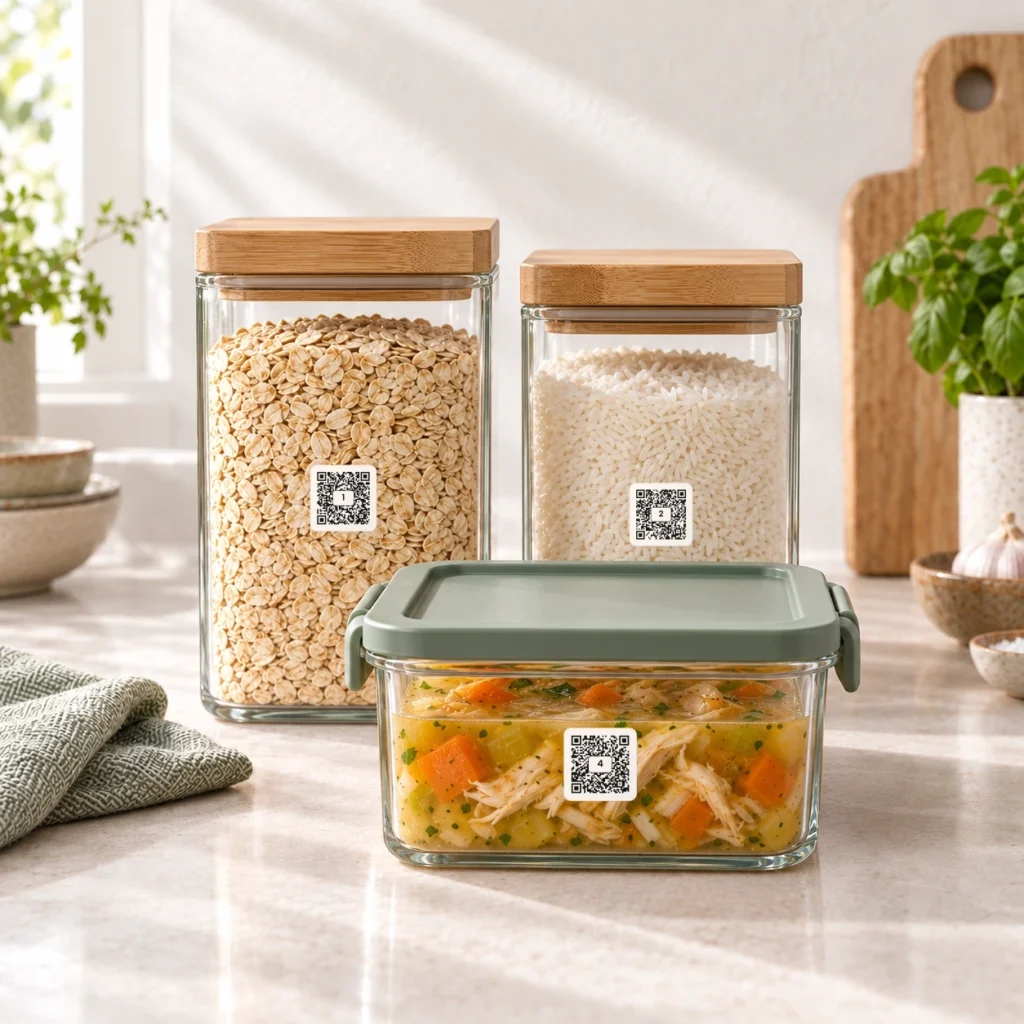
Set up the places before the food
Sign in to your QR Pantry account and set up the storage spaces you’ll recognise at a glance: Pantry, Fridge and Freezer. If you have a second freezer, give it a useful name such as Garage freezer. Choose the correct storage type as well as the name; the app uses that context when it offers storage estimates.
Keep the first version simple. A space should help you find an item when you’re hungry or halfway through cooking. You can describe the top shelf or the left-hand drawer in a note without turning your kitchen into a map with twenty locations.
Now choose a small set of food to track. Leftovers, prepared meals, opened sauces, freezer portions and jars that lose their packaging are good candidates. These are the foods that benefit most from keeping a date or an instruction with the container.
Give your containers a memory
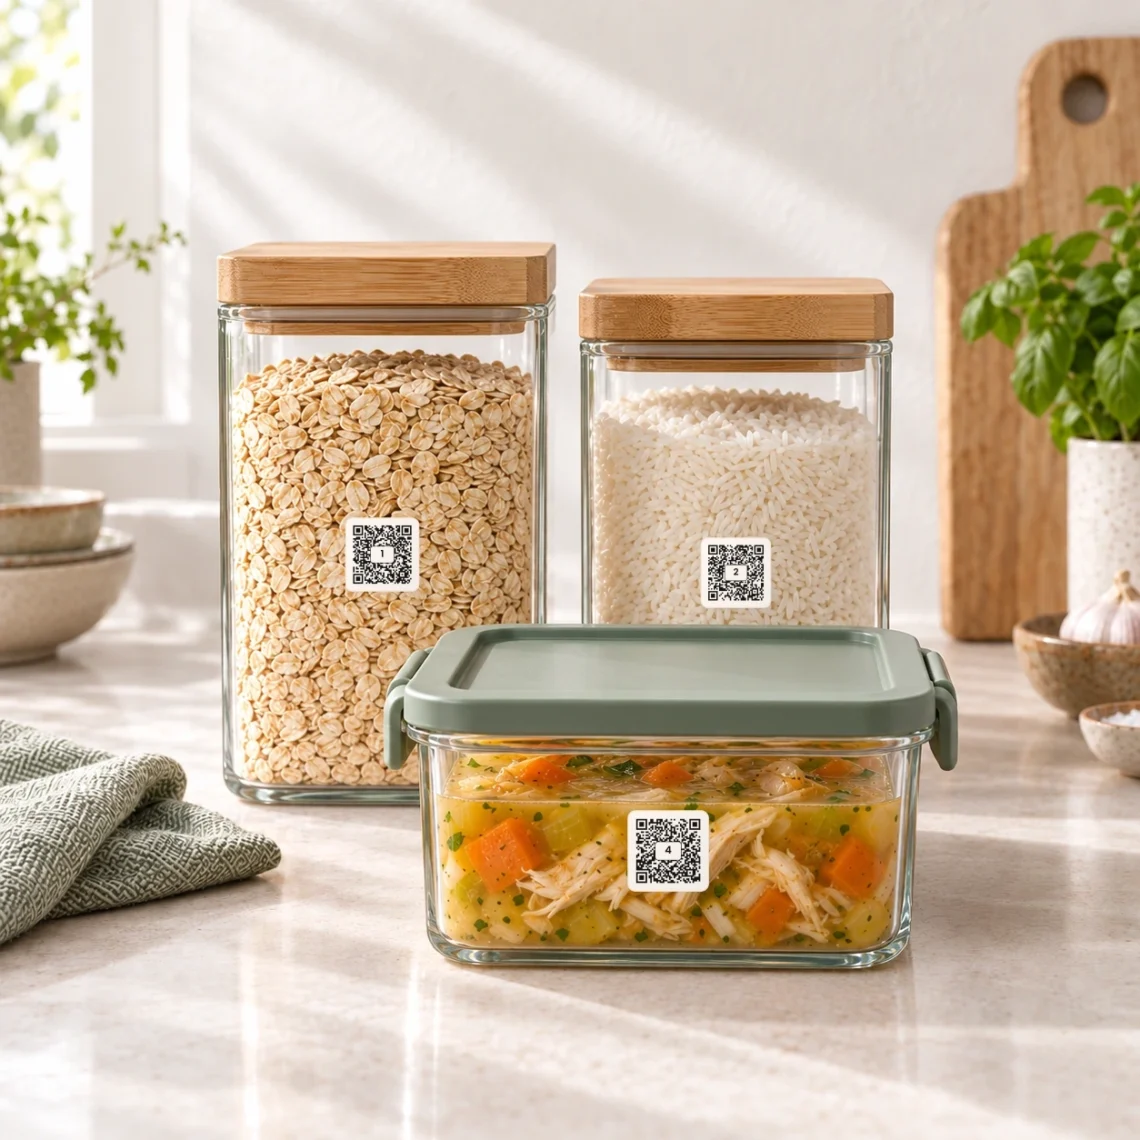
Apply official QR Pantry labels to clean, dry containers at room temperature, before they go into the freezer. Put each label where you can scan it in normal use. The front of a container is usually easier to find than a lid hidden under a stack.
For a new labelled item, scan the label first, then save the food’s name, location, date and useful notes. A name such as ‘Lentil soup – two serves’ does more work than ‘Soup’. In the notes, add details you’d otherwise have to remember: ‘Add bread to serve’ or ‘Made with vegetable stock’.
You can put labels on your regular containers together, but save each food record when the container is filled. An empty container shouldn’t appear as a meal you can eat. Reusable Smart Pantry, Fridge & Freezer Labels stay with hard containers; Smart Freezer Bag & Meal Prep Labels are intended for bags and aren’t recommended for reuse. Check the label care guidance for your particular pack.
One important difference: scanning a fresh label and adding food to it is part of Free. Pairing a label with a food record you’ve already created is a Pro feature. That makes the label-first approach a useful habit if you’re starting on Free.
Bring your next shop into the same system
With Pro, open Import shop and photograph or upload your receipt. A clear screenshot or PDF is another option. Review the items before saving: remove anything that wasn’t food, correct abbreviated names, check quantities and decide where each item belongs.
The receipt can tell the app what you bought. It usually can’t tell it the printed date on the packet you brought home. Check those dates against the actual groceries and confirm the date information you want to use for reminders. Treat suggested dates as estimates to review. After saving, check the date type in Food too: Use by or Best before should match the packet.
If the shop replaces something already tracked, check whether the review is offering a refill. Refill an empty jar when that is what physically happened. Keep a new unopened backup packet separate if the jar still contains the older batch. Otherwise the new purchase can make old food disappear from your records.
On Free, start with individual items through a label scan or the free barcode scanner. Barcode lookup helps identify a product; it doesn’t read an ordinary packet’s printed date. Pro adds barcode autofill for QR Pantry labels, receipt imports and bulk adding when you want to reduce repeated entry.
Build a recipe book for your ordinary week
Save a handful of recipes you already trust: the quick pasta, the soup that freezes well, the family favourite and something you can make when the fridge is nearly empty. You can bring recipes into your book from a link, a photo or pasted text, or write one yourself. Review imported ingredients, quantities and instructions before relying on them.
The goal is a useful collection rather than a large one. A recipe you cook regularly connects your food list to a real dinner. Pantry matching can help you spot what you have and what is missing, but check the amount on hand too. Having ‘rice’ in your inventory doesn’t prove there’s enough for four people.
Plan around your food and your calendar
Before filling the week, look at the nights you’ll be home and the food that needs attention. Put the most time-sensitive suitable ingredients into meals early enough to use them. Give your busiest night a prepared meal from the freezer. Leave room for leftovers or a change of plans.
This follows the NSW Love Food Hate Waste approach to planning: look for ingredients that can work across more than one meal and buy the quantities you need. In QR Pantry, Free lets you plan the current week from your recipe book. Pro adds planning ahead, Plan my week and Shop the week. Review the suggested meals against your household’s preferences and the quantities actually available.
Meal Rescue is useful when you have an ingredient that needs a dinner attached to it. Choose Expiring soon and a meal type, then look for a suggestion that uses the ingredient you want to prioritise. Save a keeper to your book. Check dietary requirements and food condition yourself; a generated recipe isn’t an allergy check or a safety assessment.
Cook, portion and close the record
When you cook extra, decide which portions are for the fridge and which are for the freezer. Save each labelled container with its own location and relevant dates. Two containers made on the same day may follow different paths, so they should be easy to update separately.
Record what actually changed after cooking. Reduce quantities when you’ve used some; tap Used up when the food is gone. Check the records rather than assuming a meal plan has already changed your stock. When a reusable labelled container is empty, follow the app’s choice to keep it ready for the same food or free the label for something different.
Dates help you remember, but storage and handling still matter. FSANZ distinguishes use-by dates, which relate to safety, from best-before dates, which relate to quality. Follow the packet’s storage and after-opening instructions; don’t eat food after its use-by date. An app estimate doesn’t extend that date.
Make the next shop reflect what happened
Add replacements to Shopping as you notice something running low. Before buying, check your saved food and the physical shelves, then add the gaps for your planned meals. A list assembled from the kitchen is easier to trust than one written from memory in the supermarket car park.
After buying, use Finish shopping to review which purchases refill existing items and which become new food. Check quantities, then set the pack dates in Food after finishing; purchases can land undated. Keep an unopened backup separate from the older batch. If you also import the receipt, check what has already been recorded so the same purchase is not entered twice.
A setup you can keep using
For your first week, aim for one complete cycle: label a few containers, record one shop, save three dependable recipes, plan a few dinners and update the food you used. You’ll learn more from that than from entering a whole cupboard you’ll never look at again.
Free covers the everyday foundation: labels, dates, notes, push reminders, barcode scanning, shopping, a recipe book and this week’s meal plan. Pro adds faster entry and a wider planning workflow. Choose the features that remove work from your actual kitchen.
If you’re starting from scratch, try the live demo, then scan the container you most often find yourself wondering about. From there, keep the next decision connected to the last one.